A cryolipolysis appointment is not a crash-diet shortcut or a substitute for weight loss. It is a targeted, non-invasive body-contouring treatment designed to address stubborn, pinchable fat that can hang on despite consistent workouts and healthy habits. Knowing how to prepare for cryolipolysis helps you arrive comfortable, set realistic expectations, and get the most from your session.
For many people, the best treatment areas are the ones that feel frustratingly resistant: the lower abdomen, flanks, thighs, upper arms, bra fat, or under the chin. Preparation starts before the applicator is ever placed. It starts with choosing the right goal, the right timing, and a provider who takes your health history seriously.
Start With the Right Cryolipolysis Goal
Cryolipolysis uses controlled cooling to target fat cells in a specific area. Over the following weeks, the body naturally processes those treated cells. The goal is contour improvement, not an overnight transformation.
The strongest candidates are generally near a stable, healthy weight and want to refine an area that has not responded the way they want to diet and exercise. If your main goal is major weight reduction, another plan may be more appropriate. Being honest about that distinction protects you from spending time and money on a treatment that does not match your expectations.
Before booking, identify the one area you most want to address. Treating multiple areas can be an option, but a focused plan makes it easier to assess progress. Take clear, private photos in consistent lighting before treatment if you want an objective comparison later. Your day-to-day mirror check can be misleading when changes appear gradually.
Schedule a Consultation Before You Commit
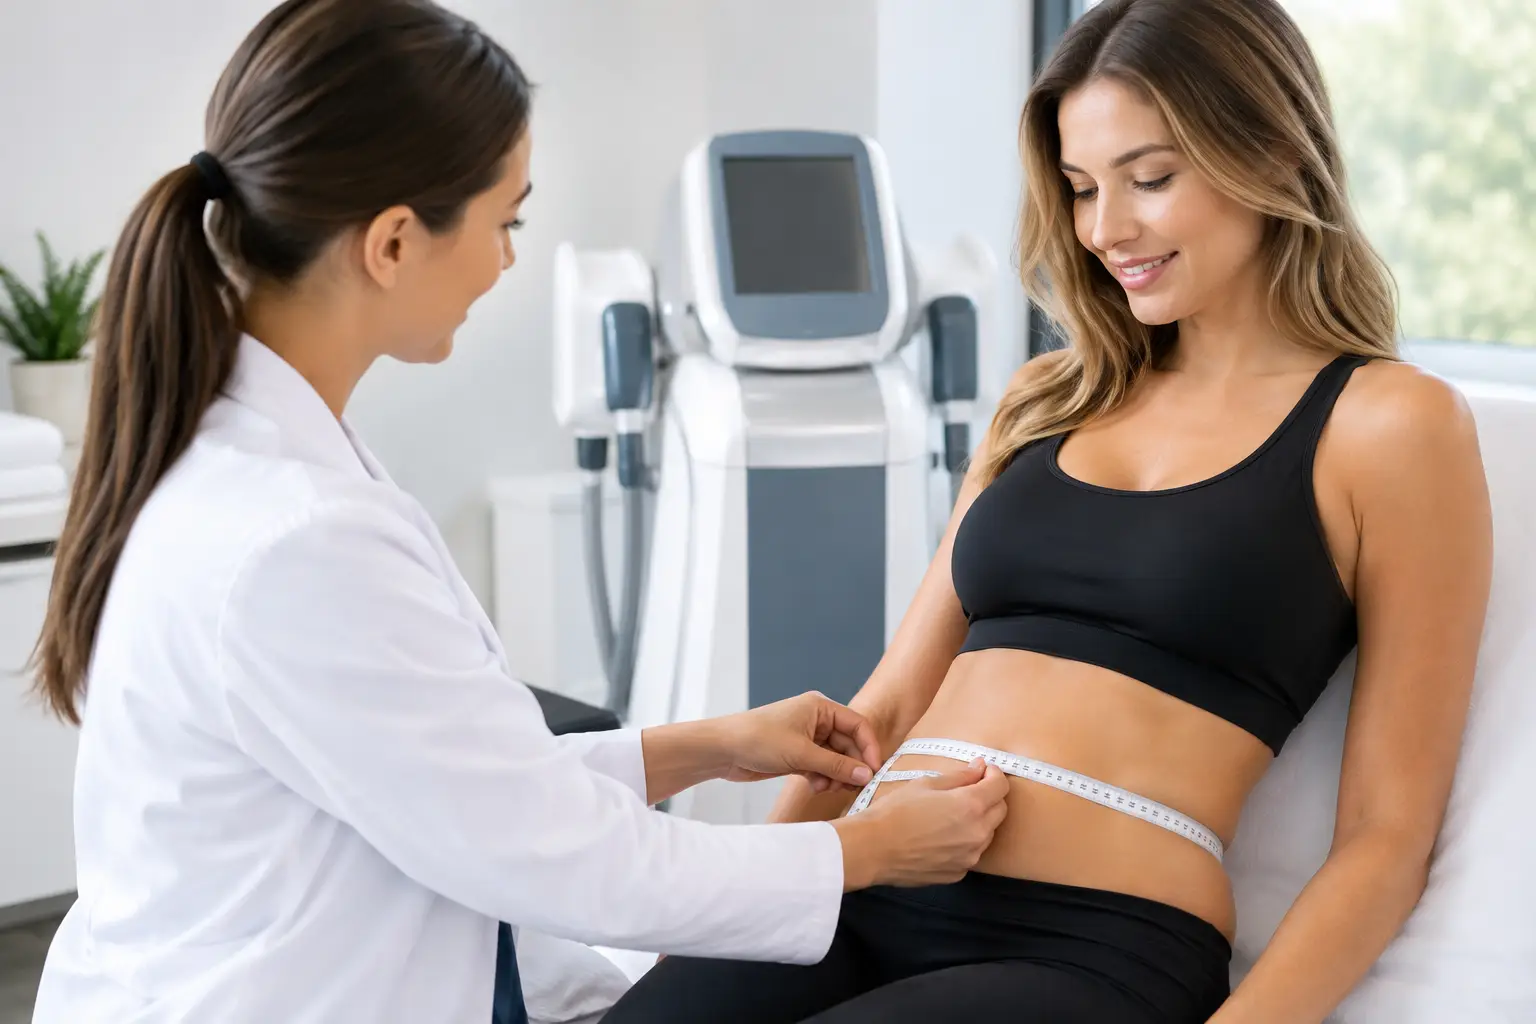
A proper consultation is the most valuable step in preparing for cryolipolysis. Your provider should evaluate the area, discuss your aesthetic goals, review your medical history, and explain what the treatment feels like and what recovery can look like.
Share any prior cosmetic procedures, surgeries, implants, skin concerns, hernias, or changes in sensation near the intended treatment site. Mention all medications and supplements, especially anything that affects bleeding, bruising, healing, or sensitivity to cold. This is not the moment to leave out details in the name of getting cleared quickly. Good treatment decisions depend on accurate information.
Cryolipolysis is not right for everyone. Certain cold-sensitive conditions may rule it out, including cryoglobulinemia, cold agglutinin disease, and paroxysmal cold hemoglobinuria. Pregnancy, breastfeeding, active skin infections, open wounds, and some medical conditions may also require postponing treatment or seeking medical guidance first. A qualified provider can help determine whether localized cryolipolysis is appropriate for you.
Ask Questions That Affect Your Results
Ask which area or areas make sense to treat, how many sessions may be recommended, and when you can reasonably expect to see changes. Also ask about common temporary effects, such as redness, numbness, swelling, tenderness, bruising, or firmness in the treated area.
It is also smart to ask what is included in your appointment, how the treatment area will be measured and documented, and who to contact if you have a concern afterward. Clear answers are a sign that the provider has a process, not just a device.
How to Prepare for Cryolipolysis the Week Before
The week before treatment is about consistency, not extremes. Keep your regular movement routine, eat normally, and avoid beginning a restrictive cleanse or punishing workout schedule. Cryolipolysis is meant to complement a sustainable lifestyle, so give your body a stable baseline.
Hydration is a simple practical priority. Drink water consistently in the days leading up to your appointment, especially in Miami’s heat. You do not need to overdo it the night before, but arriving well hydrated supports overall comfort and makes the day easier.
Avoid major sun exposure on the treatment area. Sunburned, irritated, or broken skin should not be treated. If you are planning a beach day, outdoor event, or a long run in direct sun, protect the area with clothing and sunscreen. If your skin becomes irritated, let your provider know before the appointment.
If you are prone to bruising, ask your medical provider before making any changes to prescribed medication. Do not stop a prescription on your own. Your cryolipolysis provider may also advise you on supplements or over-the-counter products that could affect bruising, but individualized medical advice always comes first.
What to Wear and Bring to Your Appointment
Wear loose, comfortable clothing that makes the treatment area easy to access. A relaxed T-shirt and shorts, leggings, or sweatpants usually work well. Skip anything tight, stiff, or difficult to move in, especially if you are treating the abdomen, flanks, or thighs.
You may feel firm suction and intense cold during the first few minutes. That cold sensation usually fades as the area becomes numb. Bring headphones, a podcast, a book, or something else that helps you relax. Most clients can rest, work on a laptop, or scroll during the session, depending on the treatment area and setup.
Eat a normal meal beforehand unless your provider tells you otherwise. Showing up hungry, dehydrated, or rushed can make any wellness appointment feel less comfortable than it needs to be. Give yourself enough time to arrive settled rather than sprinting in between meetings.
Plan Around Your Calendar, Not Just Your Workout
Cryolipolysis typically requires little to no downtime, and many clients return to work or normal activity right after treatment. Still, “no downtime” does not mean “no sensations.” The area may feel numb, sensitive, tingly, swollen, or tender for a period afterward.
If you have a major event, photo shoot, vacation, or beach weekend coming up, do not schedule your first session at the last minute. Give yourself room for temporary swelling or bruising and remember that visible contour changes develop over time, not by the next morning. Planning several weeks or months ahead is usually more realistic when you want results to align with a specific date.
You can generally continue with normal exercise after your appointment if you feel comfortable. There is no need to force an intense workout to make the treatment “work.” A walk, your usual gym routine, and steady healthy habits are enough. If the area feels tender, choose movement that feels good instead of pushing through discomfort.
Prepare for the First Few Days After Treatment
Your provider may massage the treated area immediately after applicator removal. This can feel intense for a short time, particularly when sensation returns, but it is part of the treatment process when recommended by your provider.
In the days after treatment, follow the aftercare instructions you receive. Stay hydrated, maintain your normal balanced routine, and monitor the area without overanalyzing every sensation. Some people feel little beyond numbness; others notice temporary tenderness, itching, cramping, or sensitivity. Bodies respond differently.
Call your provider if symptoms feel severe, persist beyond what you were advised to expect, or raise concern. Rare complications can occur with any aesthetic treatment, and prompt communication matters. You should never feel pressured to dismiss a concern simply because a treatment is non-invasive.
Give Results Time to Develop
The biggest preparation mistake is expecting immediate fat loss. Cryolipolysis is a process. Changes may begin to appear in the weeks after treatment, with results continuing to develop over the following months. Your provider can recommend the right timing for follow-up photos or an evaluation.
Keep your expectations grounded in contour, not perfection. A successful result may look like a smoother silhouette, a more defined area, or clothes fitting the way you hoped they would. It depends on the treatment zone, your anatomy, the amount of fat present, and whether additional sessions are appropriate.
When you prepare with a clear goal, honest health information, comfortable clothing, and a realistic timeline, your cryolipolysis session becomes easier to fit into real life. Choose a time when you can stay consistent with your wellness routine, then let the process do what it is designed to do: help refine the areas that deserve a little extra attention.